11 Simple Nail Designs Anyone Can Do at Home

Want to level up your DIY nails without stepping into a salon? These 11 ideas are quick, fun, and totally doable. FYI, you’ll be surprised how small tweaks can look seriously polished.
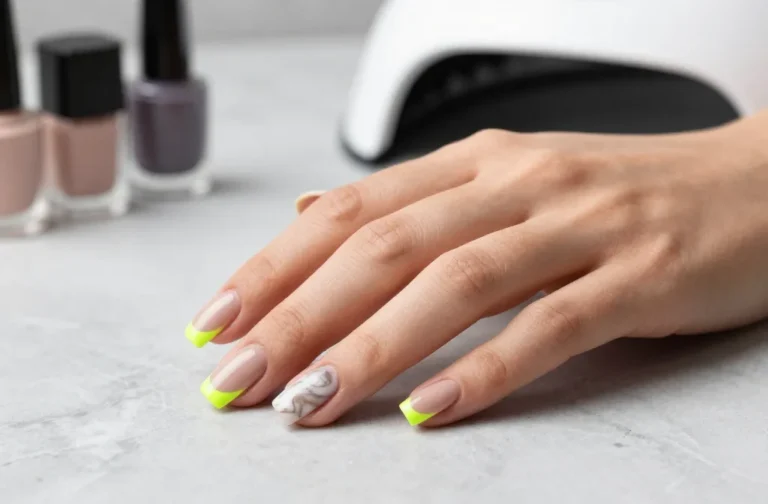
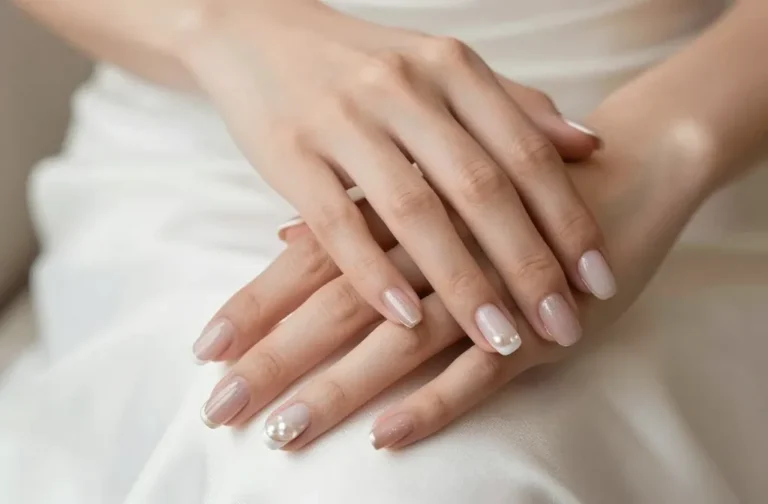
1. Negative Space Chic That Actually Works
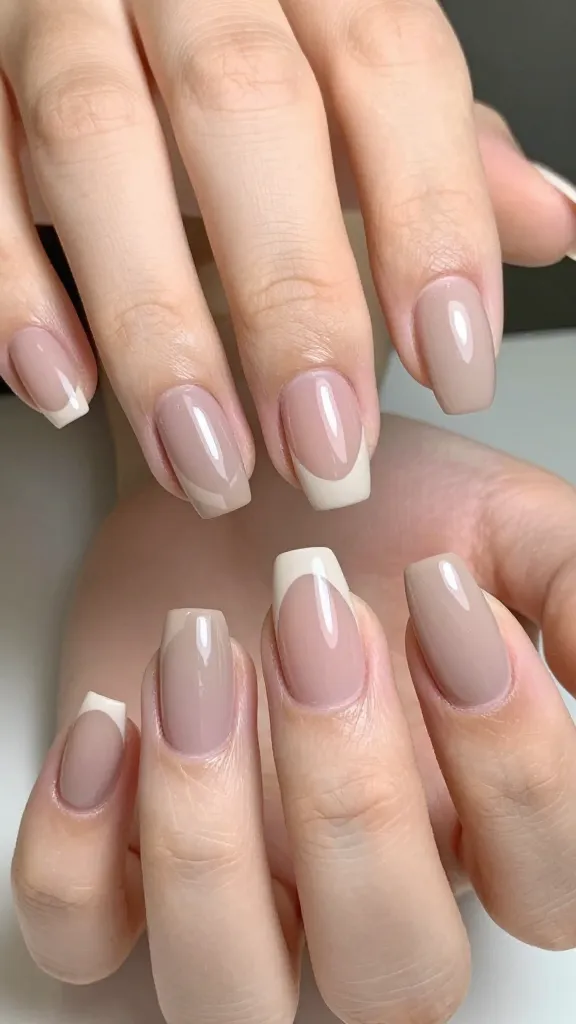
Negative space designs are chic, modern, and surprisingly forgiving for beginners. You’ll get a high-fashion vibe with minimal effort.
Why it rules: you control how much nail you cover, so mistakes are less dramatic and easy to correct. Plus, it screams “editorial” without the price tag.
Key Points
- Base color: a soft taupe or nude to highlight the negative areas
- Masking tape or nail vinyls to create crisp edges
- Top coat for durability
Tip: plan your design on a notepad first, then replicate on each nail for a cohesive look. Trust me, steady hands win here.
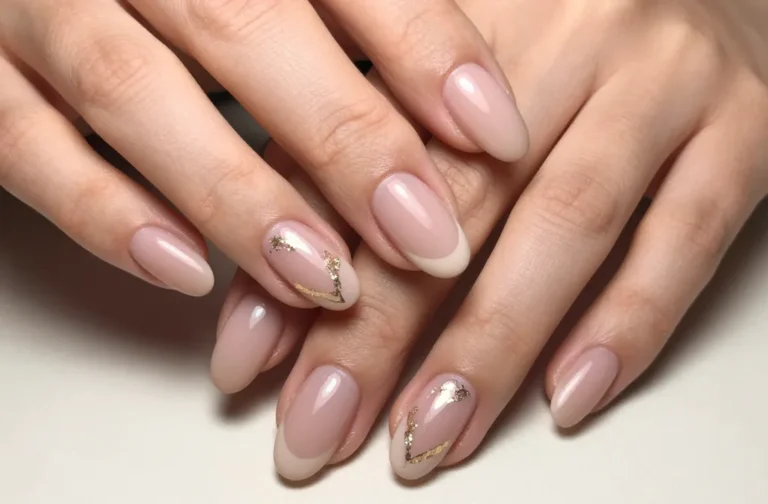
2. Classic French With a Twist
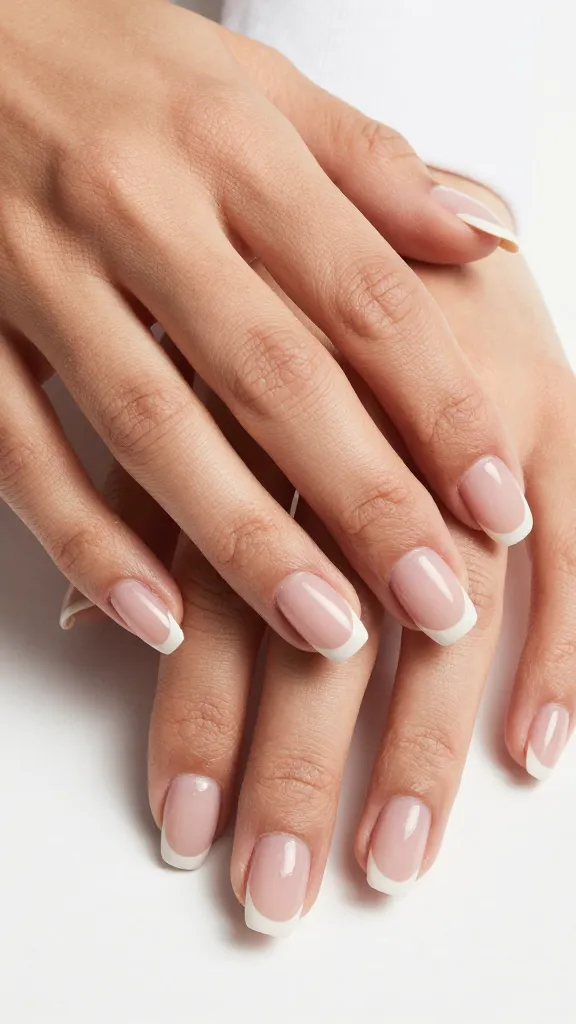
A French manicure never goes out of style, but you can punch it up with color, shapes, or a playful tip. It’s the perfect gateway design for beginners who want a polished finish.
What makes it awesome: you stick to familiar techniques while adding personality—perfect balance between easy and chic.
Variants to Try
- Colored tips (pastels or metallics)
- Smaller smile line for a modern look
- Reverse French with a half-made crescent
End note: this is a great choice for workweeks and weekends alike. It grows on you fast.
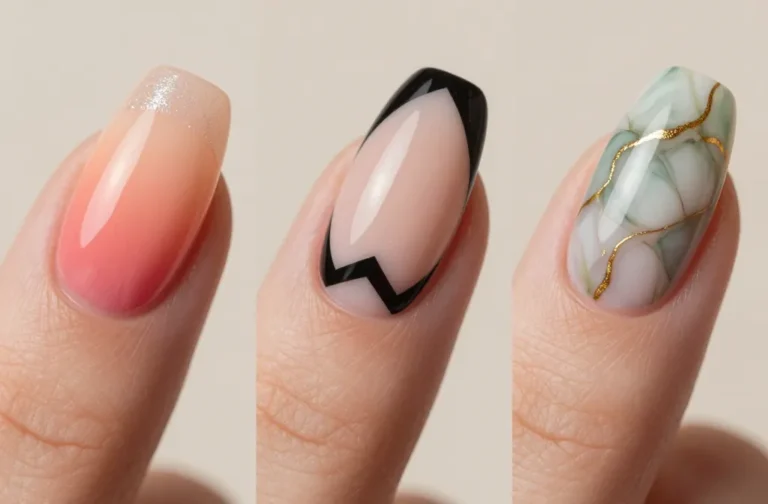
3. Marble Magic Without the Mess
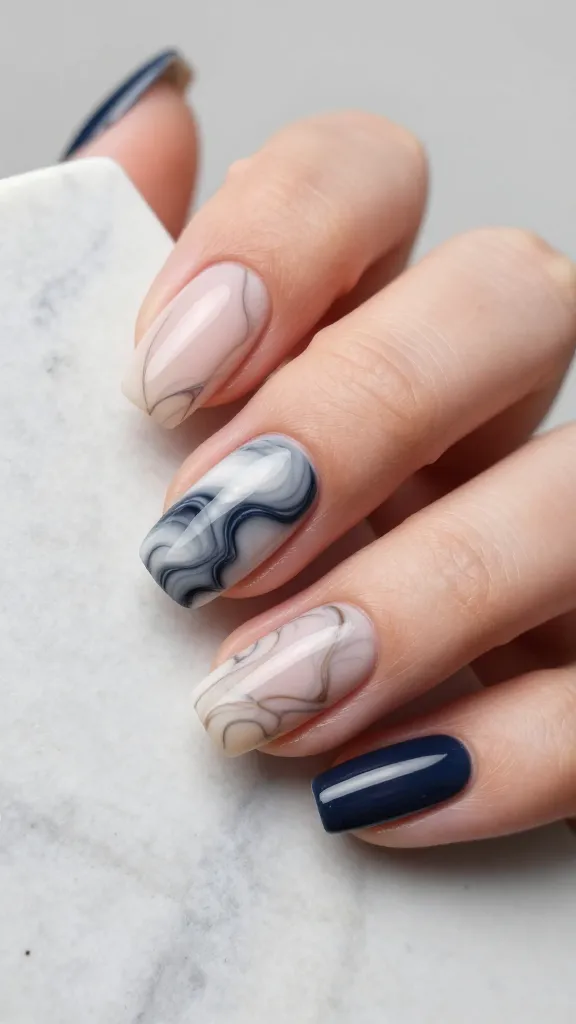
Marble nails look luxe, but you can fake the marble effect with a simple two-color swirled technique. No marble jar required.
Why it’s worth it: the pattern hides mistakes and gives drama in every shade—ideal for those who love a bold manicure with minimal effort.
How to Do It
- Choose two or three light/dark shades
- Dab a small amount of each color on a plastic sheet
- Swirl with a fine brush or toothpick for organic veining
Tip: seal with a top coat to avoid smearing. FYI, the smoother your base, the silkier the marble looks.
4. Dotty Delights: Polka Dots Made Easy
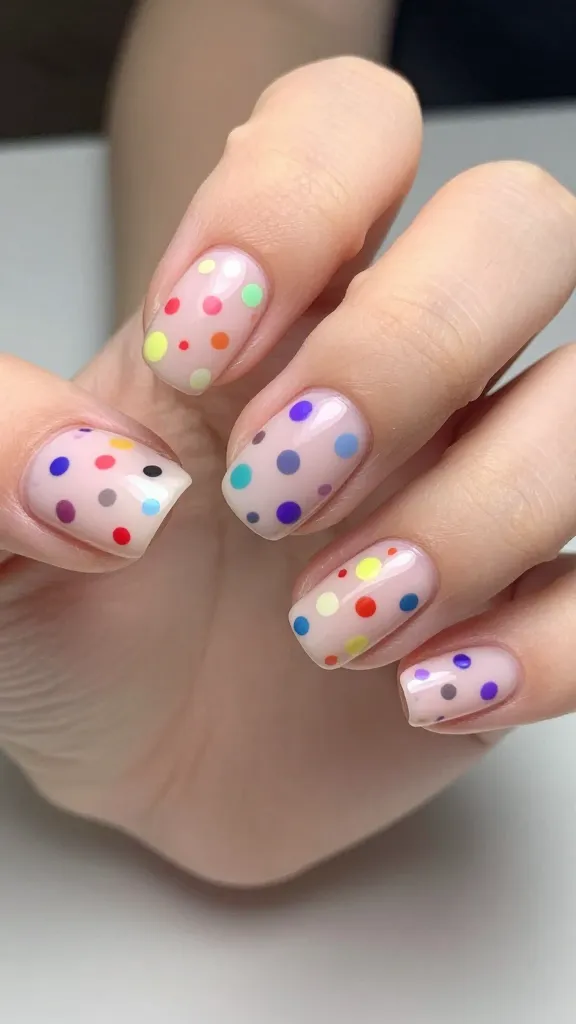
Polka dots are playful and quick. They translate from minimalist to loud depending on size and color. You’ll nail this in minutes.
Why you’ll love it: it’s a classic that feels fresh when you vary dot sizes and background tones.
Materials
- Dotting tool or bobby pin for tiny dots
- Your favorite base color
- Contrasting dot color
Note: place dots in a scattered pattern or align in rows for a retro vibe. Either way, you’ll get instant joy from the tiny circles.
5. Minimal Stripes for a Speedy Edge
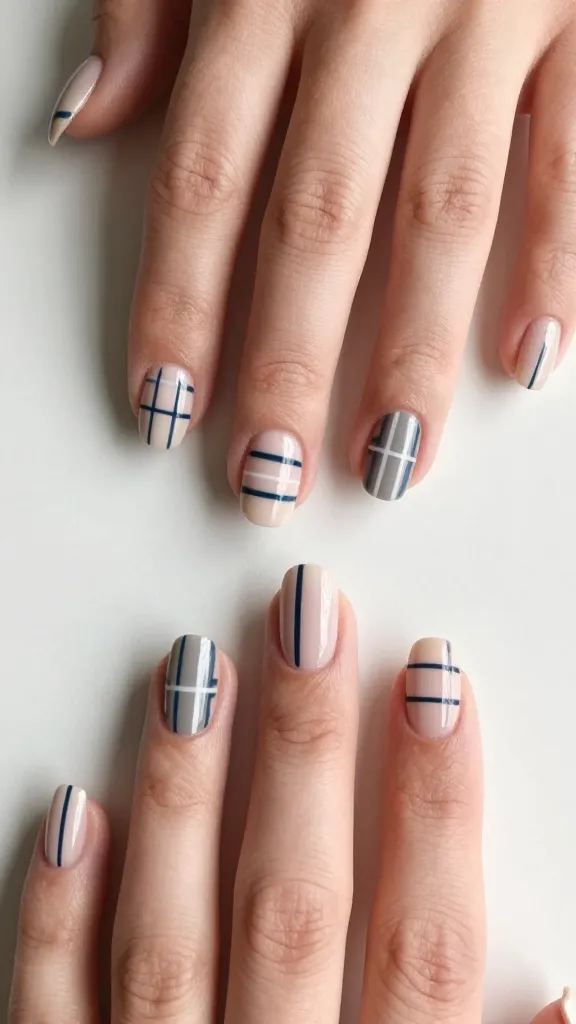
Vertical, horizontal, or diagonal stripes instantly sharpen any manicure. Stripes are simple to perfect and look expensive.
Why they’re awesome: you can layer different colors and widths to customize the pace and mood of your nails.
Tips
- Use painter’s tape to achieve clean lines
- Try one color on all nails with a contrasting accent nail
- Mix matte and gloss finishes for texture
When to use: commute-ready days or when you want a quick pop of style without fading into the background.
6. Glitter Gradient: Sparkle That Starts at the Tip
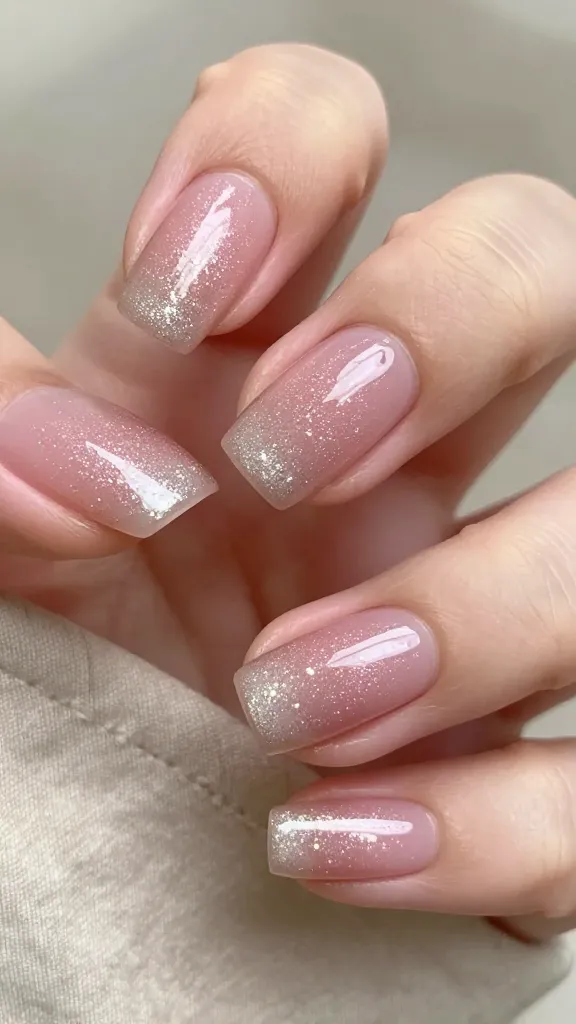
Glitter gradients catch the eye and feel celebratory without looking overdone. A little goes a long way, so you stay classy and fun.
Why it works: gradients blend the sparkle with your base color, so nails look intentional, not chaotic.
How to Build It
- Base coat in your chosen color
- Apply glitter polish starting at the tip, fading toward the middle
- Layer thin coats for even distribution
Bonus: perfect for parties, weekends, or when you want a little extra cheer on a weekday.
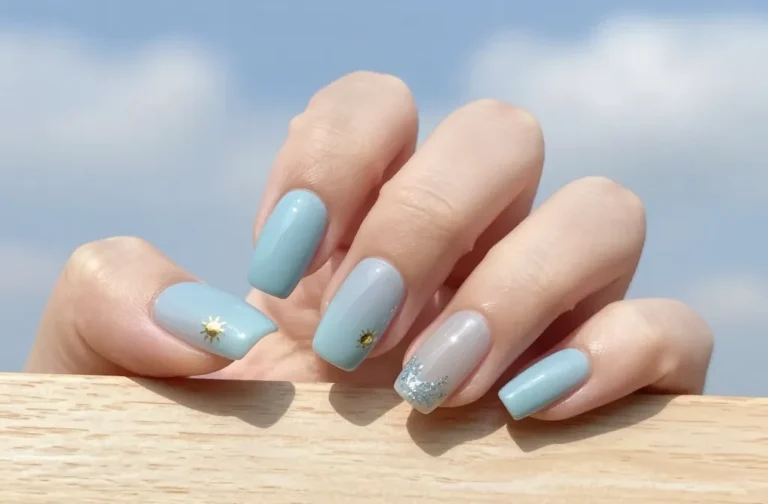
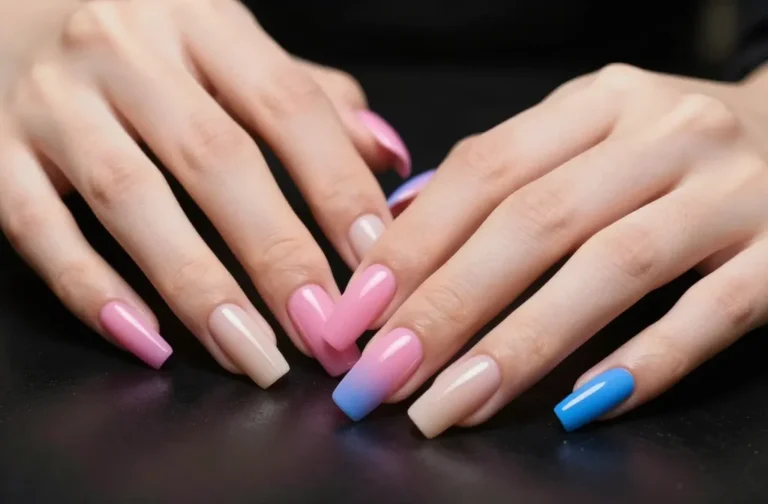
7. Pastel Ombre Blossoms
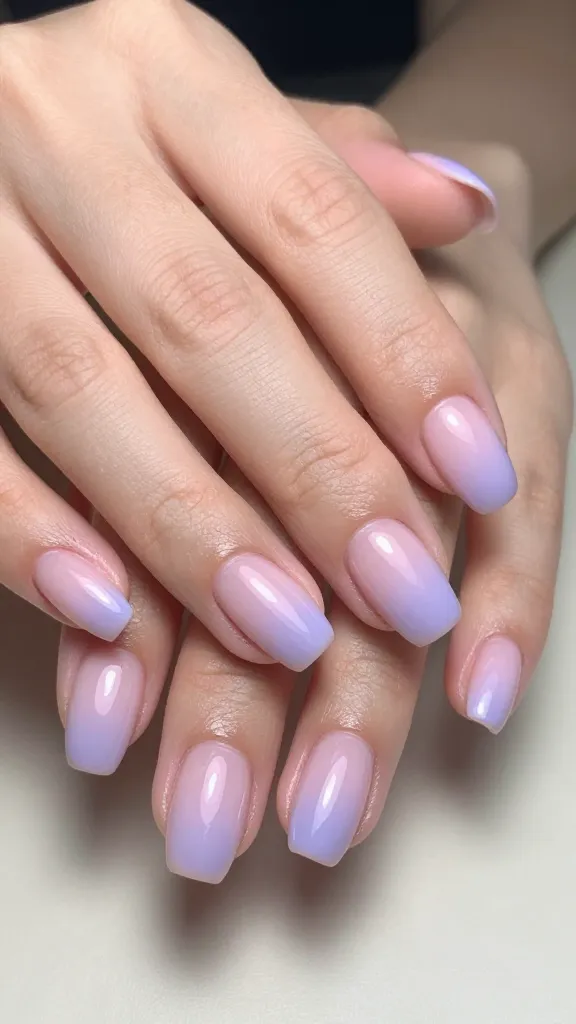
Ombre nails fade from one pastel hue to another, giving you soft, dreamy vibes. It’s like a tiny sunset on your fingertips.
Why it’s so delightful: gradients look advanced but are super forgiving with layered washes of color.
Simple Steps
- Choose 2-3 pastel shades
- Blend with a makeup sponge for a seamless transition
- Seal with a glossy top coat to keep colors vibrant
Tip: start with the lightest color first to prevent muddy blends. FYI, patience pays off here.
8. Bold Solids with a Matte Finish
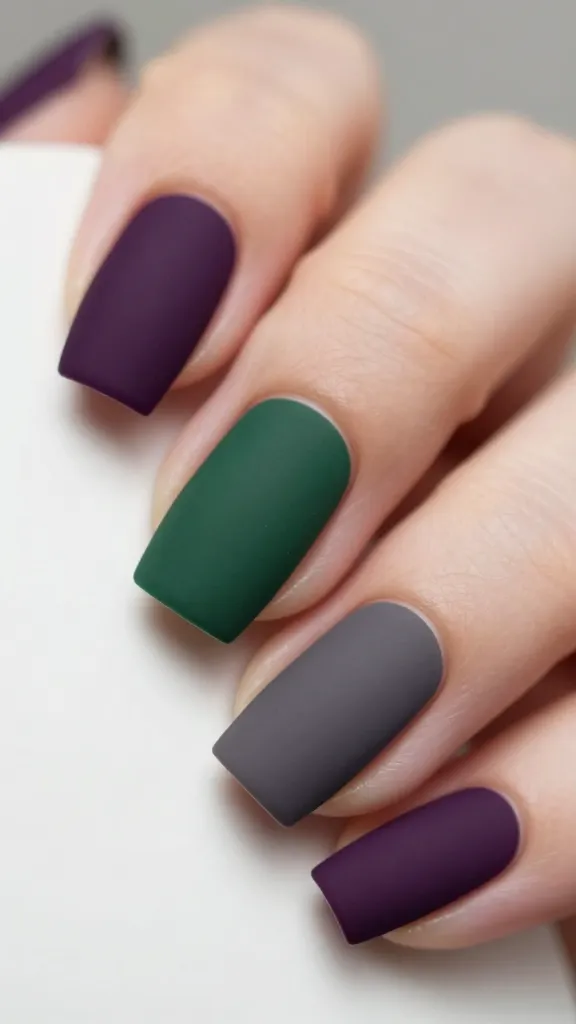
Solid nails never go dull when you pair them with a matte finish. It’s bold, modern, and surprisingly easy to pull off at home.
Why you’ll love it: matte tones reduce glare and instantly feel chic without a ton of detailing.
What to Keep in Mind
- Pick a single striking color as the star
- Matte top coat or matte nail polish creates the look
- Soft accent nail can add interest without chaos
Idea: a deep plum, forest green, or stone gray will read as high-end in a snap.
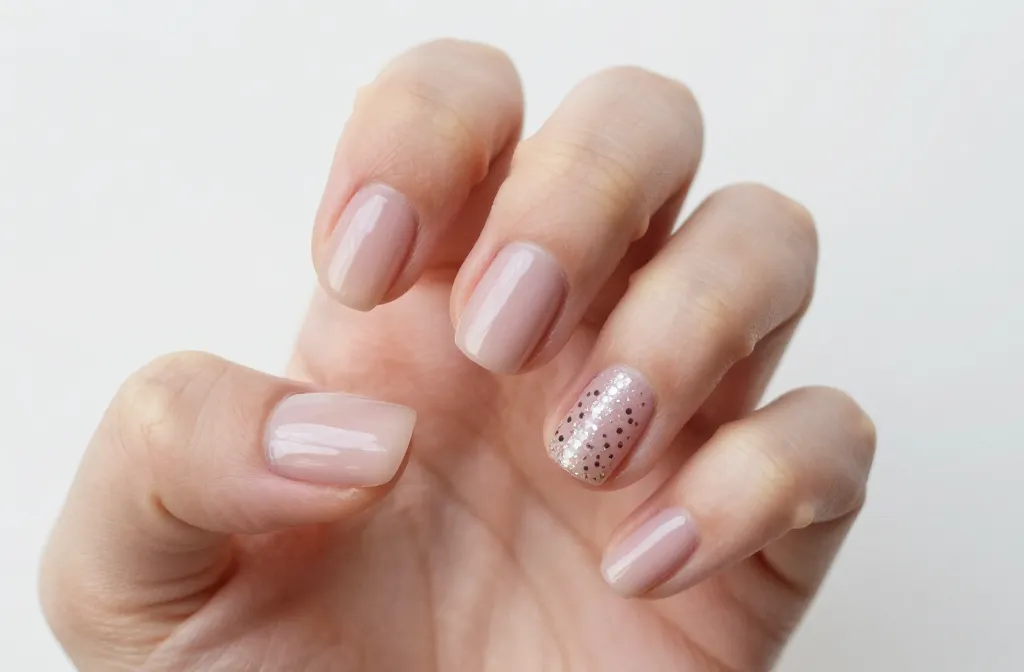
9. Confetti Nails: Fun but Not Messy
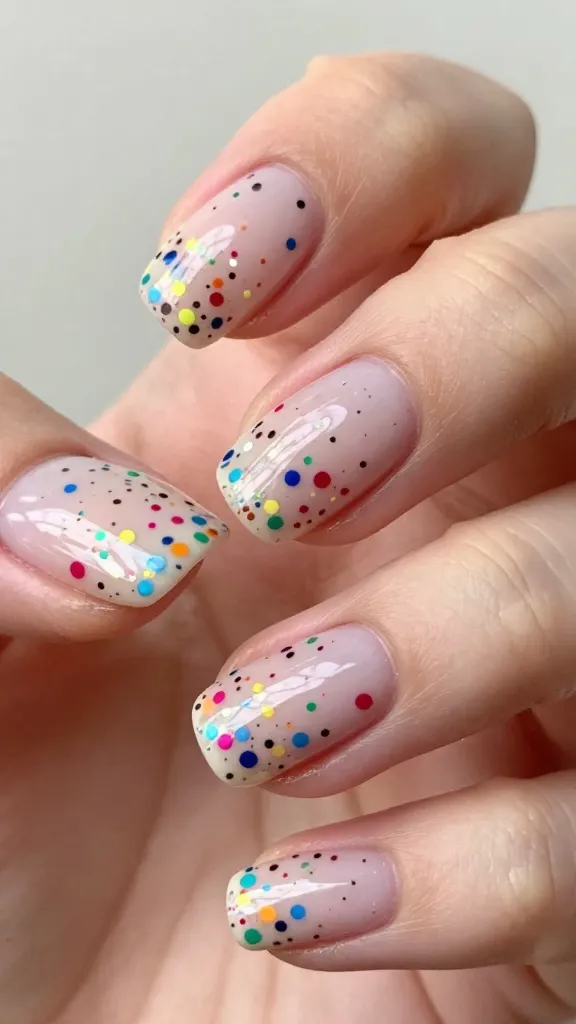
Confetti nails bring a party vibe with tiny specks of color sprinkled across the nail. It’s cheerful and youthful without feeling childish.
Why it’s great: you can control the density and color range to match any mood or outfit.
How to Assemble
- Choose a base color that contrasts with confetti pieces
- Use a toothpick or dotting tool to place specks
- Seal with a thick top coat to prevent shedding
FYI, keep some remover wipes handy—glitter loves to cling to skin.
10. Marble Accent Nail With a Twist
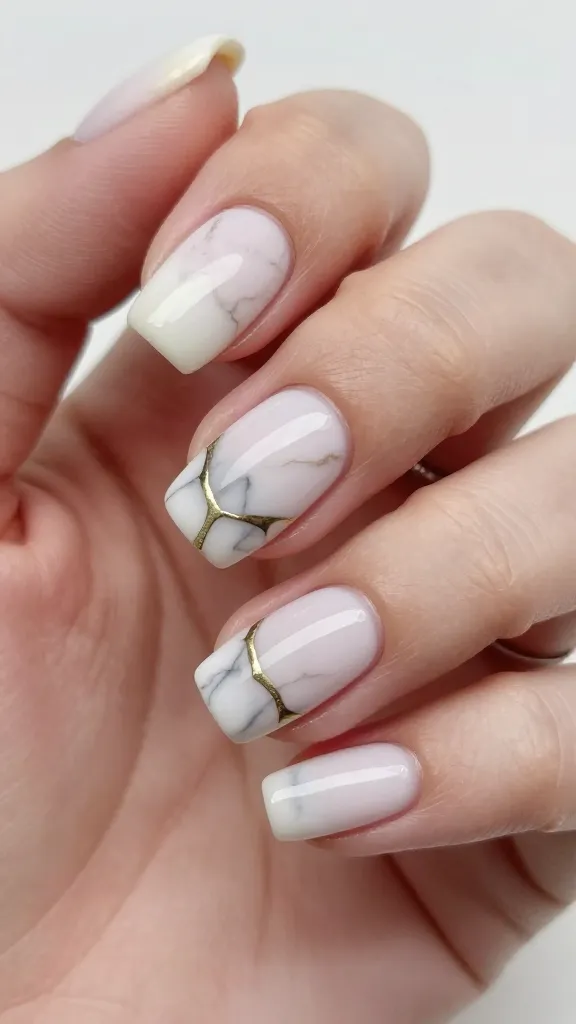
If regular marble feels overdone, try carving a small marble accent on a single nail. It looks luxe but still at-home friendly.
Why it shines: an accent nail concentrates drama where you want it most, keeping the rest simple.
Quick Recipe
- Paint base coat in a neutral color
- Swirl a few darker shades on a plastic sheet, then dab lightly on one nail
- Finish with clear top coat to lock in the veins
Benefit: easy focal point that upgrades the whole manicure in minutes.
11. Floral-Free Floral: Doodled Botanicals
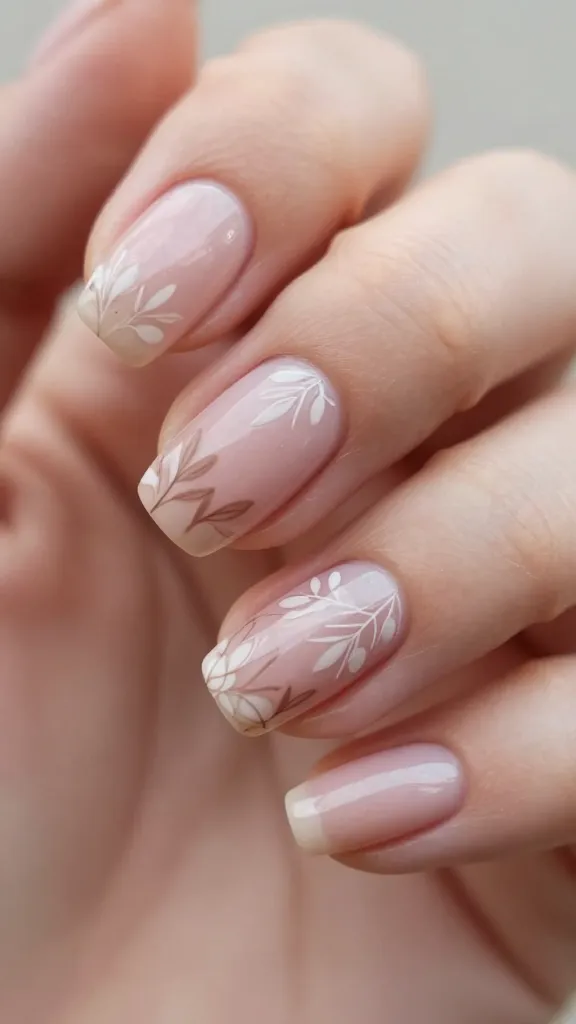
Yes, you can pull off floral nails without tiny hand-painted petals. A few quick strokes with a thin brush create a botanical feel without commitment to perfection.
Why it works: floral motifs feel delicate and feminine, but simple lines keep it approachable for beginners.
Maison Steps
- Base color that complements your florals
- Draw tiny leaf shapes and stems in a contrasting color
- Finish with a clear top coat for longevity
DIY pro tip: practice on a piece of paper first, then translate to nails for clean lines. Seriously, you’ll thank yourself later.
Each design is a tiny mood boost you can apply in under an hour. Whether you want something understated or a little more glam, these 11 ideas prove you don’t need a salon to look polished. IMO, the best part is you get to experiment and make each weekend feel like a fresh start for your nails.
Ready to pick your favorite and start today? Grab a few shades you love, a steady hand, and your favorite top coat—you’ve got a mini-paint party waiting at home. Trust me, your nails will thank you.