10 Easy Gel Nail Designs at Home: Chic and Simple Looks
Ready to upgrade your mani game without stepping into a salon? These gel nail designs are beginner-friendly, stunning, and totally doable in your own living room. FYI, you’ll save time, money, and you’ll finally stop begging your bestie for a last-minute manicure.
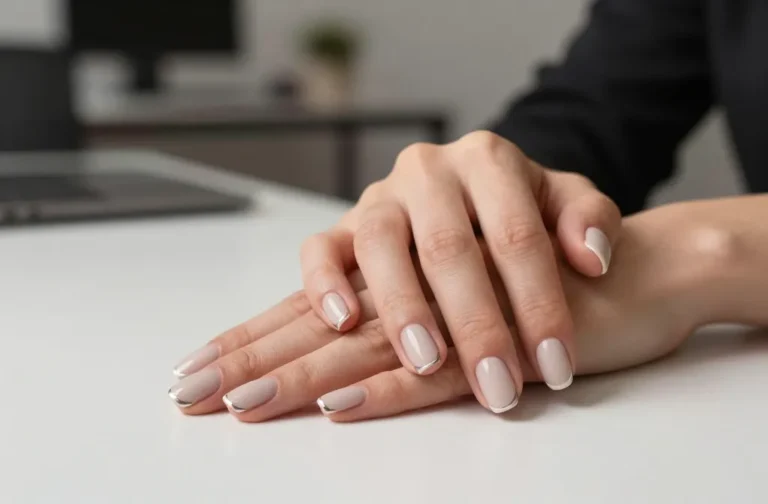
1. Classic French Tips, Fresh Twist
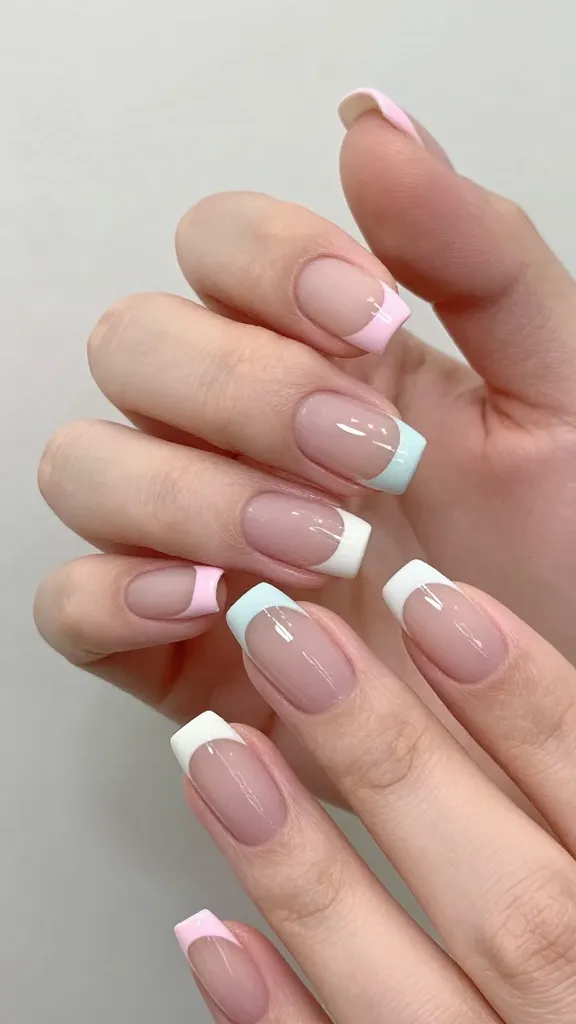
French tips never die. They just get fancier. This version keeps the timeless charm but adds a pop of color or a modern shape to keep things interesting.
Why it’s awesome
Perfect for work, date nights, or when you want something that looks polished without trying too hard. It’s foolproof with a little planning and steady hands.
- Effortless elegance
- Matches any outfit or vibe
- Easy touch-ups if needed
Tip: Use a stencil or guide for crisp lines. Trust me, neat tips make all the difference.
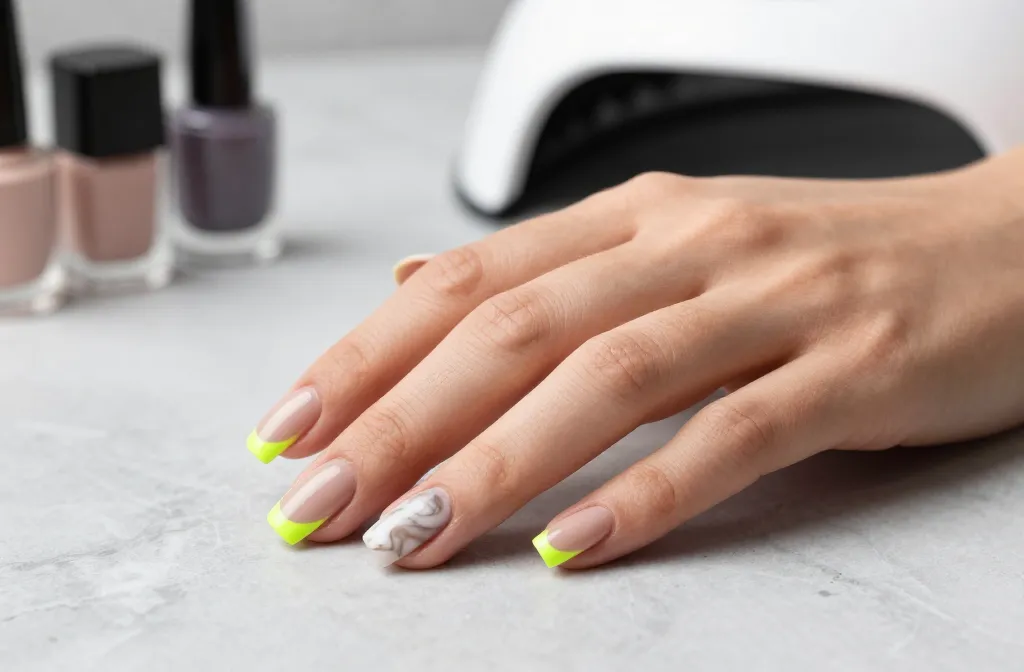
2. Negative Space Neon Stripes
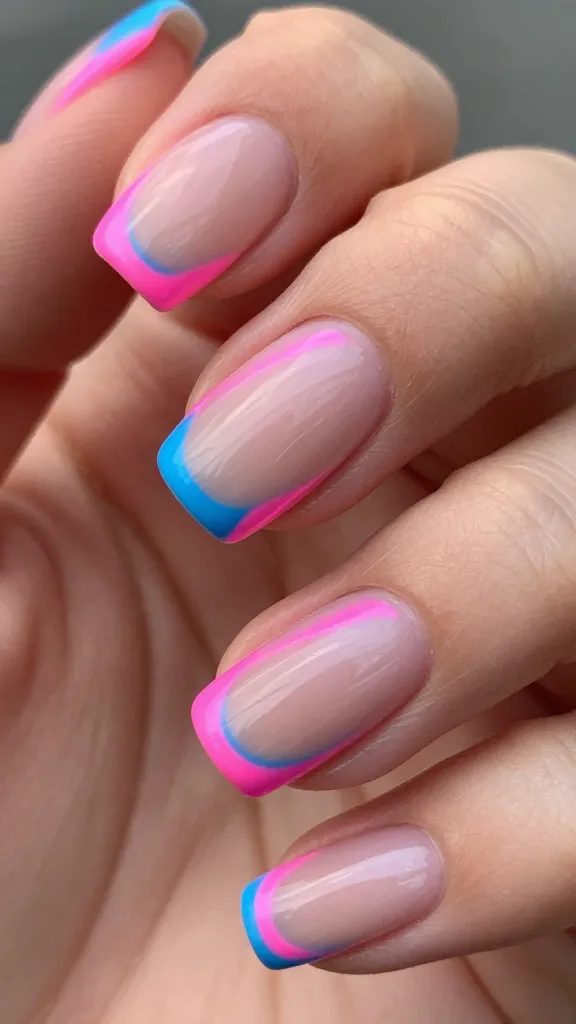
Minimal effort, major impact. Negative space with neon stripes gives you a modern, edgy look without painting every inch of your nail.
Key Points
- Pick 1-2 neon shades for contrast
- Leave strategic gaps to show skin or nail bed
- Finish with a glossy top coat for shine
Bright lines against a nude base are instantly IG-worthy. Serious wow factor with almost zero risk of a messy line.
3. Marble Magic in Minutes

Marble nails are chic without needing a fancy setup. You can create elegant swirls that look like you spent hours at a salon.
How to nail it
- Use a damp sponge to blend colors for a soft marble effect
- Stick to 2-3 colors max to keep it cohesive
- Seal with a scratch-resistant top coat
The trick is layering thin strokes and letting each layer dry a bit before swirling. You’ll get organic, high-end vibes with minimal fuss.
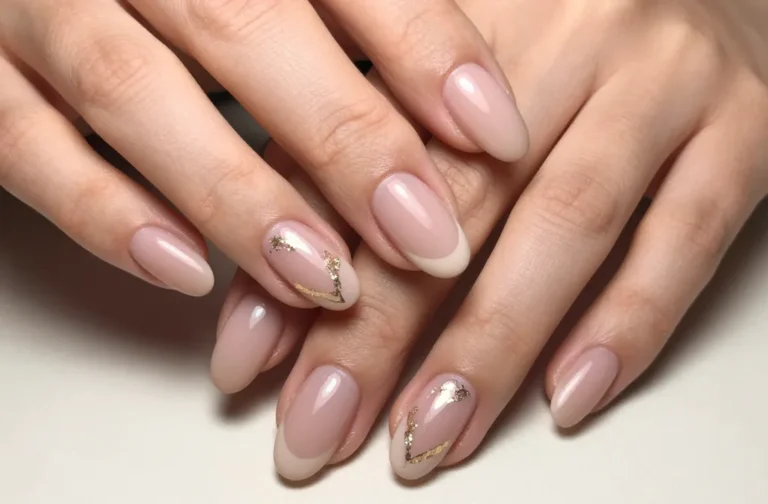
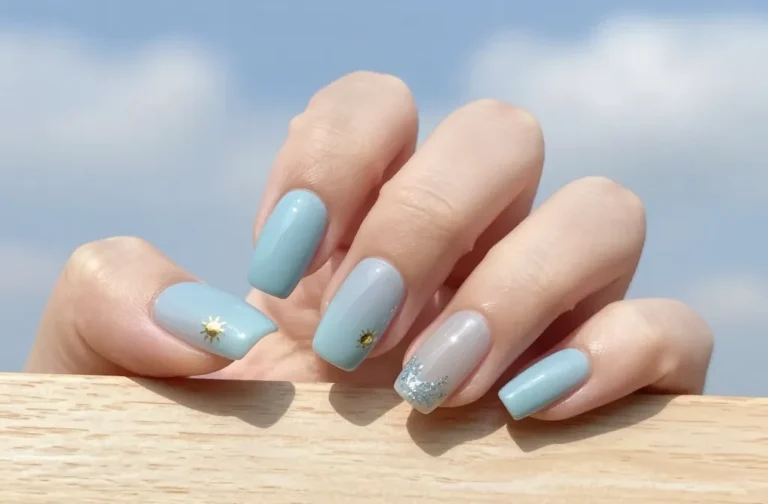
4. Mini Gold Foil Dots
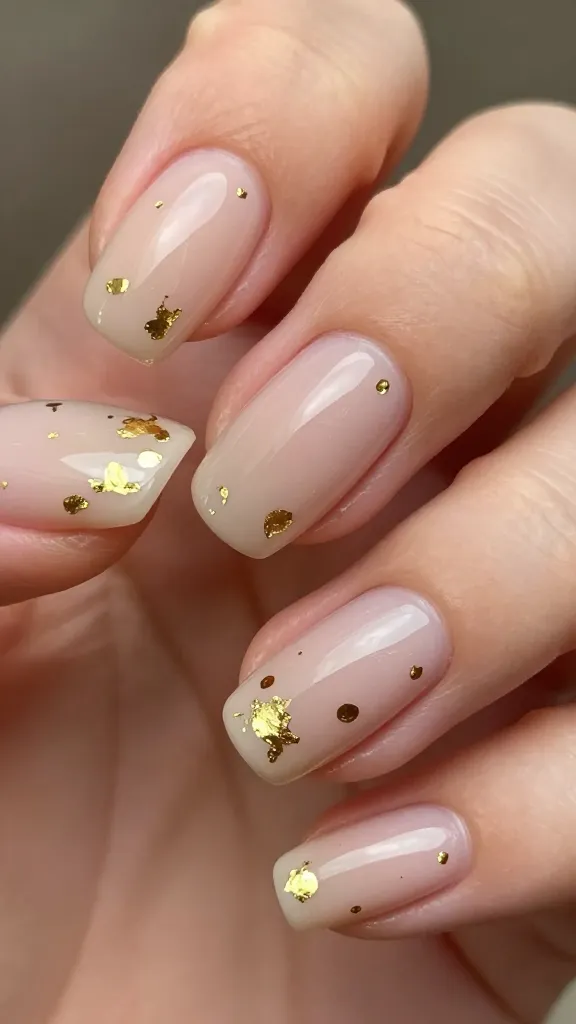
Gold foil adds luxe vibes without breaking the bank. Tiny dots or random foil shards elevate any base shade.
What you’ll love
- Luxurious look on a budget
- Great for celebrations or everyday glam
- Quick to place—no perfect alignment required
Finish with a sturdy top coat to lock in foil pieces. FYI, foil sticks best when the base is fully dry.
5. Matte Velvet Seconds
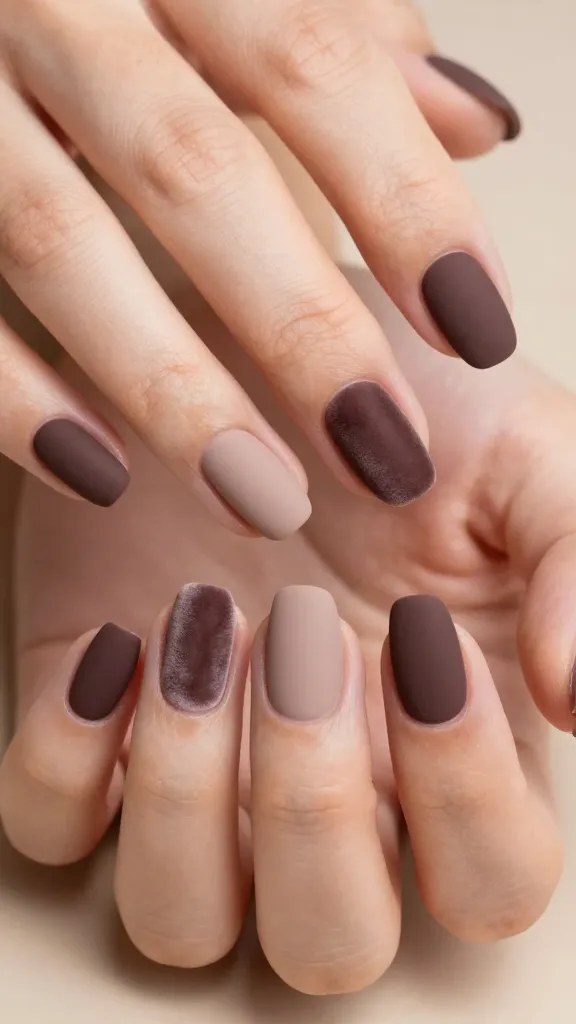
Matte nails with a velvet finish feel fancy but still approachable. It’s like a chic sweater for your fingertips.
Tips
- Apply a matte top coat over your color for a velvety look
- Choose deeper tones for drama or soft nudes for everyday wear
- Don’t skip prep—oil-free, clean nails stick better
Benefits: longer-lasting wear, less glare in photos, and a cozy vibe that’s hard to beat.
6. Confetti Pop Accent Nail
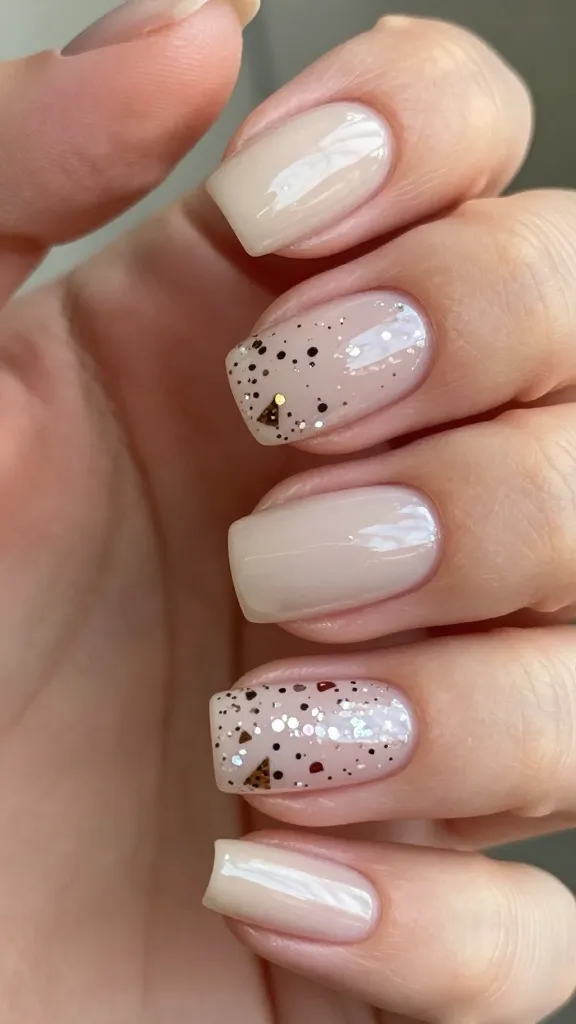
One nail gets the party hat with confetti pieces while the rest stay sleek. It’s playful without screaming loud.
Where to place confetti
- One nail per hand as an accent
- Scatter tiny pieces for a random celebration look
- Curate colors that match the rest of your manicure
Application is simple: dab a bit of clear gel and sprinkle confetti, then cap with gel to secure. Seriously cute and super party-ready.
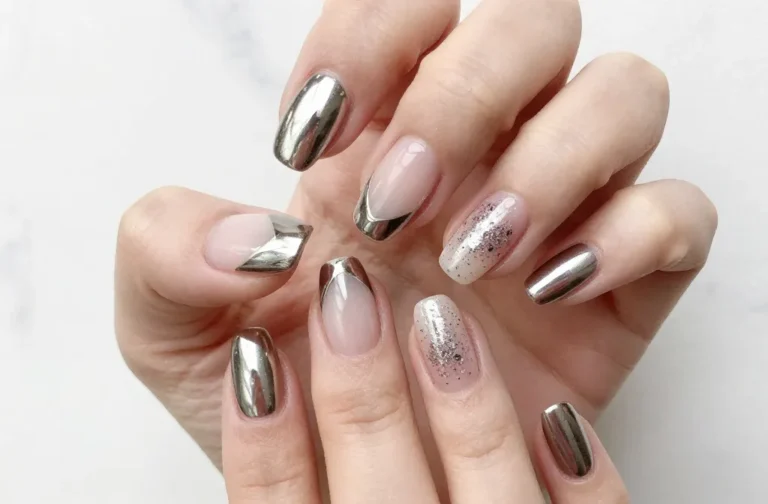
7. Sleek Chrome Chrome-Effect
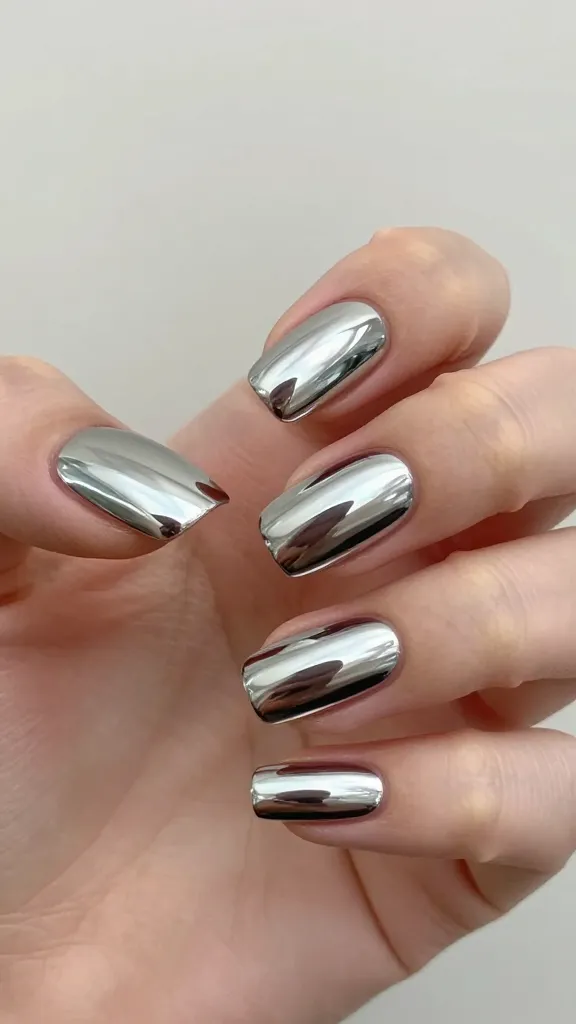
Chrome nails feel futuristic and chic. A mirror-like finish looks amazing in any lighting, from selfies to real life.
Fast track to shine
- Use a metallic pigment powder with a sticky layer
- Seal with a high-gloss top coat to prevent chipping
- Avoid overloading the brush to keep micro-scratches away
Pro tip: wipe the surface between coats to keep the metal clean and reflective. Trust me, the sparkle sells the look.
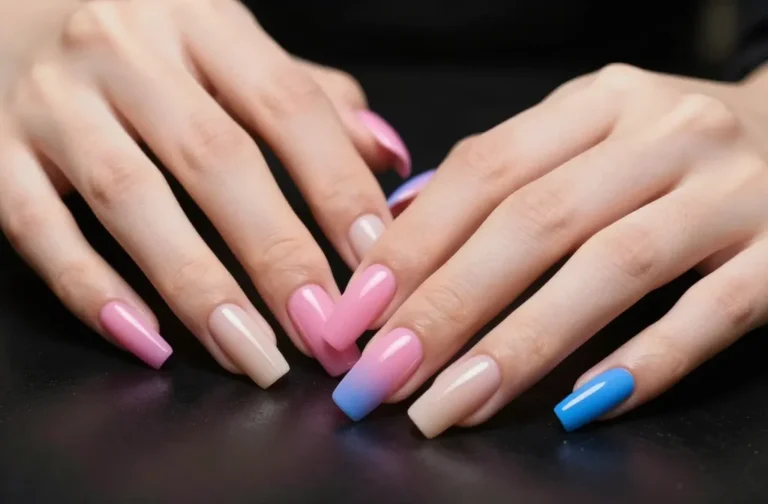
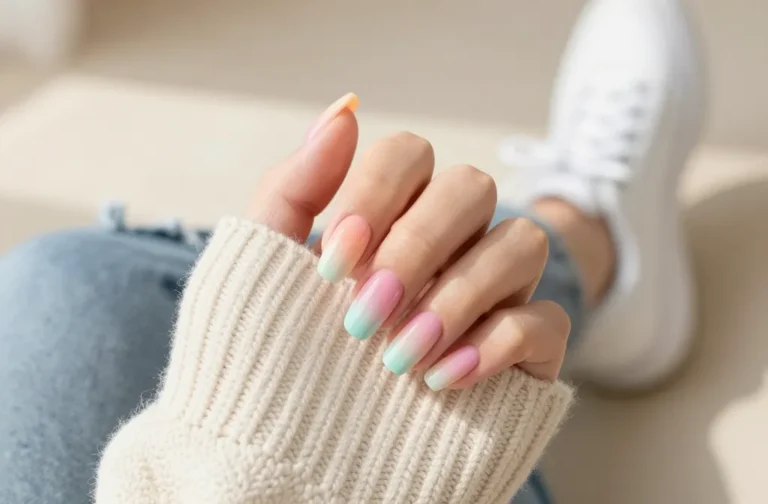
8. Ombre Sunrise Gradient
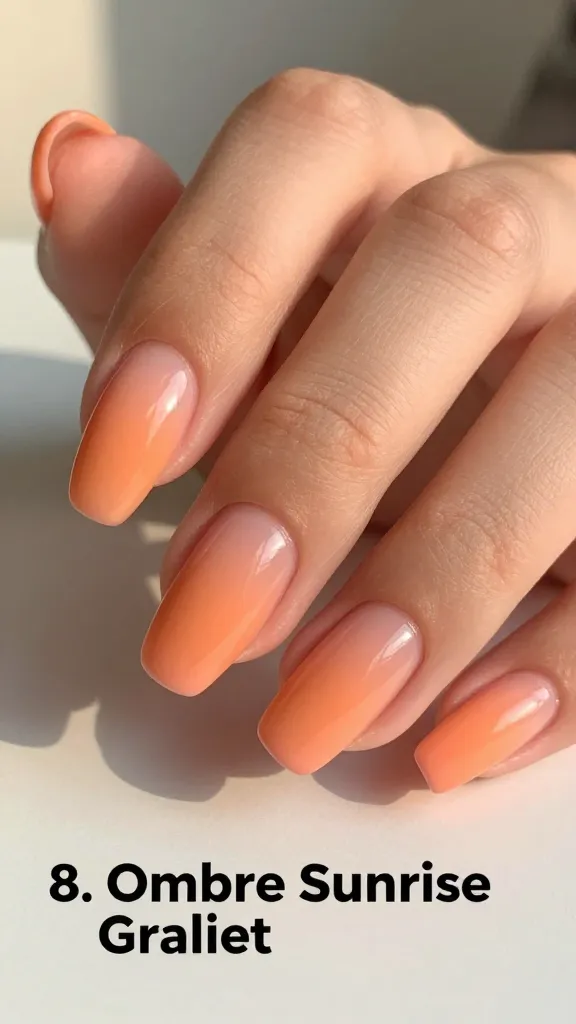
Gradient nails mimic a sunrise on your fingertips—soft, soothing, and totally wearable.
How to get that glow
- Choose 2-3 adjacent shades
- Blend colors with a sponge or brush for a seamless fade
- Finish with a clear top coat to lock the gradient in
It’s perfect for those who want dimension without busy patterns. Imagine a calmer version of your favorite sunset, now on your nails.
9. Tiny Hearts for Everyday Sweetness
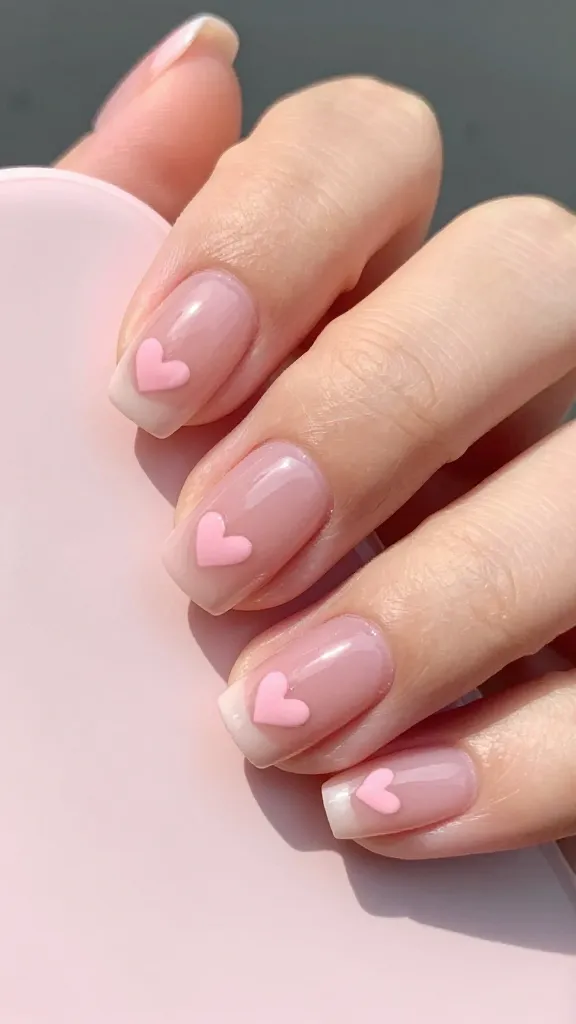
Love is in the air, even on your nails. Tiny heart shapes add a playful touch that’s both sweet and stylish.
How to keep them neat
- Use a small dotting tool or a toothpick to draw tiny hearts
- Cap your design with a clear gel layer to prevent chipping
- Pair with a soft pink or nude base for maximum cuteness
These little hearts are an instant mood booster. Also, they’re a cute DIY gift idea for a friend or date night.
10. Geometric Negative Space Blocks
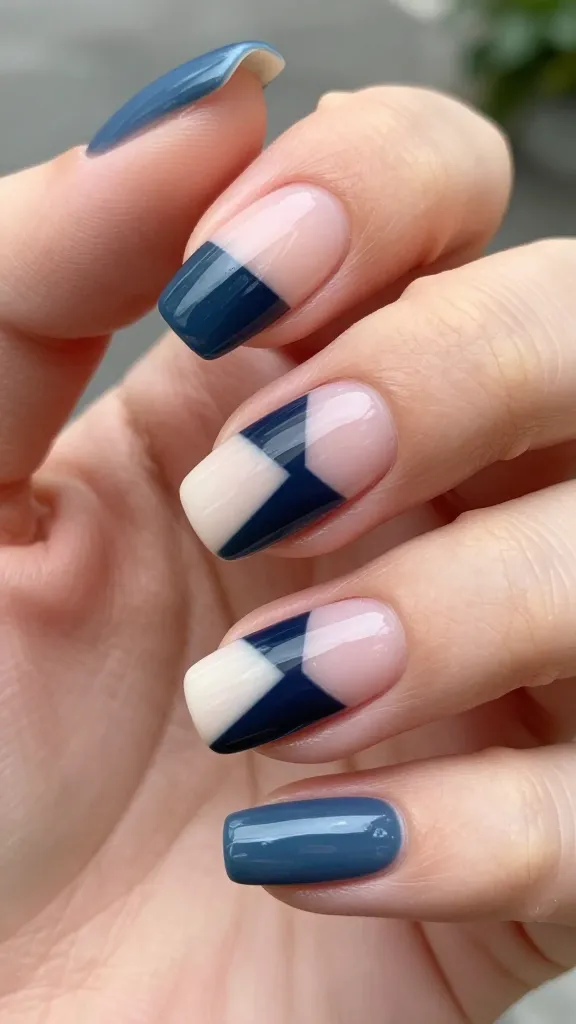
Geometric shapes plus negative space = modern art at your fingertips. It’s crisp, contemporary, and surprisingly easy.
What to keep in mind
- Block shapes on 1-2 nails for balance
- Use striping tape to keep lines sharp
- Play with color contrast to maximize impact
Wrap up with a durable top coat and you’ve got a salon-grade look that travels well on your hands.
Want to mix and match these ideas? Absolutely. These designs are designed to be combined, swapped, or simplified to fit your mood and schedule. IMO, the right gel top coat can make every design pop and last longer than you expect. Seriously, the right prep and curing times are everything.
So grab your lamp, a few colors you love, and some nail-art tricks. The results will feel like you hired a pro, but your wallet will thank you.
Now go show off those fresh gels. You’ve got this, and your nails will thank you for it.